I’ve recently started playing around with Flutter and it got me thinking : can I build a Flutter app and deploy it to the Windows desktop? Well… It turns out this feature is in alpha so I thought I’d blog about how to get from a clean machine all the way to a Flutter sample running on Windows in an easy to follow guide (hopefully).
Let’s start with the prerequisites:
Visual Studio Code + Flutter extension
Visual Studio 2019 + C++ workload
Configuring the Flutter SDK
Flutter say you need to install Android Studio, but if you are solely just compiling for Windows Desktop and not Android you can skip this - so for this blog post I am.
It’s pretty rare that most people start from scratch, so feel free to jump to the part of this post that makes sense for you.
Installing Visual Studio Code + Flutter extension
I love using Chocolately, (not heard of it? Check it out here). It’s a great installer technology which reduces all the usual process of installing applications. Kick open PowerShell (or Windows Terminal for the cool kids 😊) in admin mode and type the following:
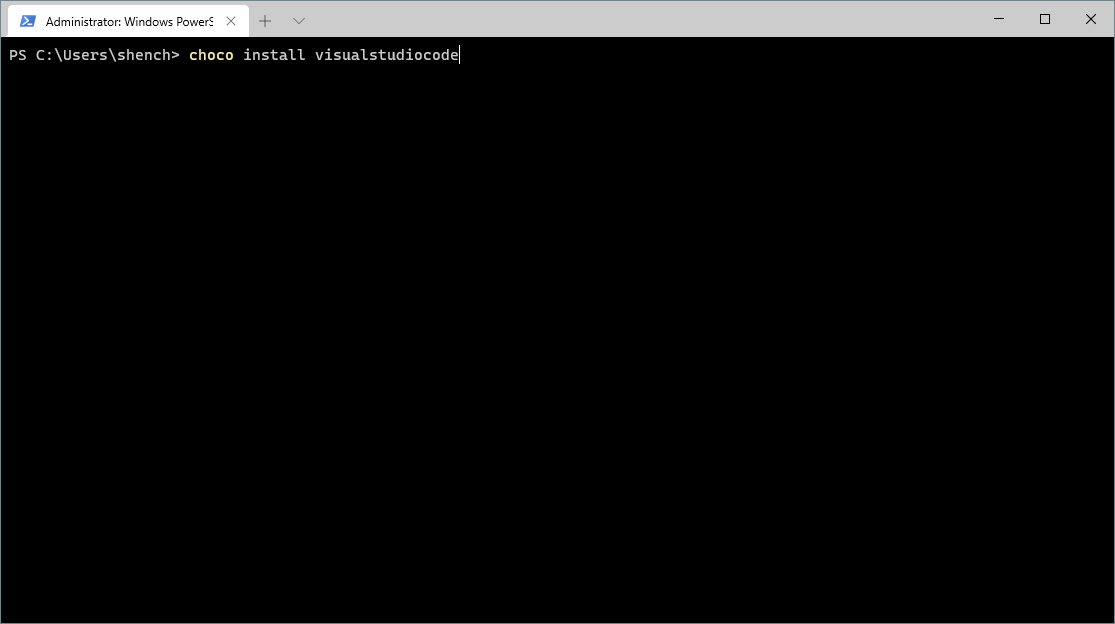
choco install visualstudiocode
Let that do it’s magic and once completed VScode will be installed.
Installing the Flutter extension
Now that VSCode is installed, open it. Click on the Extension button on the left menu and search for the Flutter. It should be the top one.

Flutter extension may require a restart on VS Code.
Install Visual Studio 2019
I’m guessing most of you reading this already have Visual Studio 2019 installed, but if you don’t we’ll use chocolatey to install it.

choco install visualstudio2019community
Chocolatey will not install any Visual Studio 2019 workloads. For Flutter to work, you’ll need the C++ workload. From the start menu open the Visual Studio Installer. Modify the Visual Studio 2019 installation and select the C++ workload.

Visual Studio Installer: Modifying the VS 2019 installation to include the Desktop Development with C++ workload.
Install the Flutter SDK
Next is the Flutter SDK, I’m sure you can guess how we are going to install this 😊

choco install flutter
If you don’t have choco installed you can get the SDK download directly from Flutter.dev.
The Flutter SDK is pretty fast moving so I’d recommend that after it’s finished installing, you perform an upgrade (this step is not needed if you decided to clone the repo). If you used Choco, Flutter is by default installed in c:\tools\flutter. Navigate to the directory and enter the flutter_console.

c:\tool\flutter\flutter_console.bat - note that it pushes you back to your home directory but the PS prefix has gone.
Now let’s perform the upgrade.

flutter upgrade
The windows desktop feature is in their dev channel since it’s still in preview, so we need to switch to the dev channel.

flutter channel dev
Almost there…. We now just need to enable the windows desktop feature.

flutter config enable-windows-desktop
If you’ve made it this far, Congratulations!!! 🥳Your machine is now setup! 😊
Creating your first Flutter Windows app
Now it’s time to test goodness! Let’s create a Flutter app, you can either use Visual Studio Code, or the command line. I’ll use the command line since I’m not making any code changes. Go to the parent directory where you want your Flutter solution and type the following:

flutter create my_first_flutter_app
Windows developers: note that the project naming uses _ and lowercasing. Dart will not like MyFirstFlutterApp and will error out.
If you already have an existing Flutter app, you can just run:
flutter create . in the project directory and that will enable it for windows desktop.
The moment you’ve all been waiting for…..(drum roll 🥁)…… Let’s execute this app. cd into the project directory and then run this:

flutter run -d windows
and a few moments later:

Flutter app running and the + button pressed 11 times.
You can now use Visual Studio Code to open the project and play with the code. At time of writing this feature is still in preview so it’s not ready for production apps, but that doesn’t mean you shouldn’t tinker with it.
If you found this post useful, please subscribe to my blog and/or leave me a comment below. I’d love to hear how this has post has benefitted you.
Happy coding!